
How to Test a Motherboard with a Multimeter
If you’re experiencing problems with your motherboard, the first step is to test it with a multimeter. In this article, we’ll walk you through the process of how to test a motherboard with a multimeter and provide some tips on how to get the most accurate readings. So, whether you’re a beginner or an experienced DIYer, read on for everything you need to know about how to test a motherboard with a multimeter!
- Symptoms That Show Your Motherboard Is Failing
- How to Test a Motherboard with a Multimeter: Useful Tips
- Disconnect the Motherboard from Power Before Testing It
- Use the Multimeter to Test the Voltage Regulators
- Test the Motherboard’s Capacitors
- Check the Reading on The Multimeter
- Test the Motherboard’s Inductors
- Reading Multimeter Data
- Test the Motherboard’s Resistors
- Check the Multimeter’s Reading for Mistakes
- The Pins on the Power Supply are Resistance-Tested
- Test a Motherboard with a Multimeter: Video Guide
- Replace Any Faulty Components
Symptoms That Show Your Motherboard Is Failing
Before we get into how to test a motherboard with a multimeter, it’s important to know what signs or symptoms indicate that your motherboard might be failing. This way, you can narrow down the potential causes of the problem and take appropriate action. Some common symptoms of a failing motherboard include:
- Your computer won’t power on.
- You hear beeping noises when you try to start up your computer.
- Your computer powers on but doesn’t display anything on the screen.
- Your computer randomly shuts down or restarts.
- You see blue screens or error messages when you try to boot up your computer.
If you’re experiencing any of these symptoms, then it’s time to break out the multimeter and start testing!
How to Test a Motherboard with a Multimeter: Useful Tips
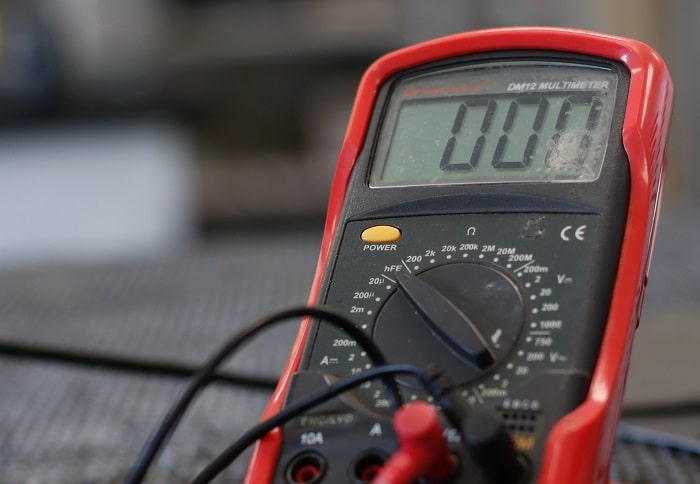
Now that you know how to identify a failing motherboard, let’s move on to how to test a motherboard with a multimeter. The first thing you’ll need is, of course, a multimeter. If you don’t have one, we recommend the Innova 3320 Auto-Ranging Digital Multimeter. It’s an affordable and reliable option that will get the job done. Once you have your multimeter, it’s time to start testing!
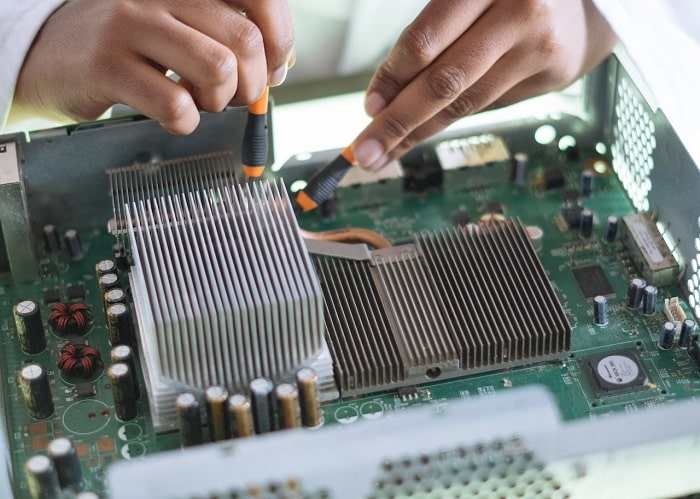
Disconnect the Motherboard from Power Before Testing It
Before you do anything, it’s important to disconnect the motherboard from any power sources. This includes both the AC power and the DC power. Once the motherboard is disconnected from power, you can begin testing it with your multimeter.
Use the Multimeter to Test the Voltage Regulators
One of the most important parts of a motherboard is the voltage regulator. This component regulates the voltage that’s sent to the CPU, and if it fails, it can cause all sorts of problems. To test the voltage regulator, you’ll need to set your multimeter to “DC volts” mode and touch the probes to the appropriate pins on the motherboard.
Then, turn on your computer and check the reading on the multimeter. It should be within the correct range for your motherboard. If it’s not, then you know the voltage regulator is faulty and needs to be replaced.
Test the Motherboard’s Capacitors
Another important component on a motherboard are the capacitors. These components store electrical charge and help regulate the flow of electricity. To test a capacitor, you’ll need to set your multimeter to “capacitance” mode and touch the probes to the appropriate pins on the capacitor.
Check the Reading on The Multimeter
Once you’ve touched the probes to the right pins, check the reading on the multimeter. It should be within the normal range for your motherboard’s capacitors. If it’s not, then you know that one or more of the capacitors are faulty and need to be replaced.
Test the Motherboard’s Inductors
Inductors are another important component on a motherboard. They’re used to store energy in the form of magnetic fields, and they help regulate the flow of electricity. To test an inductor, you’ll need to set your multimeter to “inductance” mode and touch the probes to the appropriate pins on the inductor.
Reading Multimeter Data
Once the probes are connected to the corresponding pins, check the multimeter reading. It should be within the typical range for your motherboard’s inductors. If it isn’t, then one or more of your induction coils is broken and must be changed.
Test the Motherboard’s Resistors
Resistors are another important component on a motherboard. They help regulate the flow of electricity and protect other components from damage. To test a resistor, you’ll need to set your multimeter to “resistance” mode and touch the probes to the appropriate pins on the resistor.
Check the Multimeter’s Reading for Mistakes
To check if the resistors are working properly, touch the probes to the right pins and check the reading on the multimeter. It should be within the normal range for your motherboard’s resistors. If it’s not, then you know that one or more of the resistors are faulty and need to be replaced.
The Pins on the Power Supply are Resistance-Tested
The last thing you’ll need to do is test the pins on the power supply. To do this, you’ll need to set your multimeter to “resistance” mode and touch the probes to the appropriate pins on the power supply.
As long as the reading on the multimeter is within the normal range, you can be sure that your motherboard is functioning properly. If it’s not, then you’ll need to replace the power supply.
Test a Motherboard with a Multimeter: Video Guide
Now that you know how to test a motherboard with a multimeter, here’s a video guide that will show you how to do it. By following these simple steps, you can be sure that your motherboard is functioning properly and avoid costly repairs.
Replace Any Faulty Components
Once you’ve tested all of the components on your motherboard, it’s time to replace any that are faulty. To do this, simply remove the old component and install the new one in its place. Make sure to follow the instructions in your motherboard’s manual so you don’t damage any other components in the process.
Endnotes
And that’s how you test a motherboard with a multimeter! By following these steps, you can easily identify any faulty components and replace them before they cause serious damage to your computer. Thanks for reading and we hope this was helpful! Leave a comment if you have any questions.