How to Make a Projector Screen with a White Sheet
Movie lovers, you can turn your home into a movie theater without breaking the bank! By using an affordable white sheet and projector, it’s easy to recreate that true cinematic experience right at home. Enjoy blockbuster films with all their special effects in the comfort of your own living room – no expensive projector screens necessary.
- Drawbacks to Using a White Sheet as a Projector Screen
- Top Alternatives to Traditional White Sheeting as a Projector Screen
- How to Make a Projector Screen with a White Sheet: Detailed Overview
- Method 1: Taping the Sheet on a Wall
- Method 2: Creating a Frame with PVC Pipes
- Method 3: Hanging the Sheet with Grommets
- Method 4: Using a Tripod Stand
- FAQ about How to Make a Projector Screen with a White Sheet
- How to Make a Projector Screen with a White Sheet: Conclusion
Drawbacks to Using a White Sheet as a Projector Screen
Before embarking on this DIY projector screen construction journey, it is essential to consider any potential drawbacks:
- With a sheet that has the wrong texture and is overly thin, there’s no guarantee of an optimal image.
- The material can be too light to reflect enough brightness, causing even further diminished visibility.
- Imperfections such as folds and creases will warp your projected image – making it seem distorted.
Top Alternatives to Traditional White Sheeting as a Projector Screen
A blank white wall may be an easy and cost-effective way to create a makeshift projector screen, but there are other handy solutions worth considering. From higher quality fabrics and specialty screens, to projecting onto walls or window curtains – the possibilities abound!
- Painting a wall with a special projector screen paint;
- Using a specialized projector screen fabric;
- Investing in a portable, retractable projector screen;
- Using a window shade or blackout fabric;
- Using a shower curtain or vinyl sheet.
How to Make a Projector Screen with a White Sheet: Detailed Overview
Transform an everyday white sheet into a professional-looking projector screen with ease! Follow these simple steps to get started.
Method 1: Taping the Sheet on a Wall (Author’s Choice)
Materials needed:
- A white bedsheet or curtain;
- Masking or painter’s tape.
Instructions:
Give your wall a quick spruce-up by wiping off any dust or dirt, then let the fun begin!
Hang up the sheet (use masking or painter’s tape) to get ready for projection and make sure it stays looking sharp with secure taping along its edges.
Be absolutely certain that you’ve gotten everything tight and smooth – this will ensure no disturbances in picture quality.
Enjoy projecting crisp images free of distortion on every corner of your space!
Method 2: Creating a Frame with PVC Pipes (People’s Choice)
Materials needed:
- White fabric or blackout cloth;
- PVC pipes (2-3 inches in diameter);
- PVC elbows, T-joints, and couplings;
- Saw or pipe cutter;
- Measuring tape;
- Drill and screws.
Instructions:
To create a home theater-like ambiance, measure the space you have in mind and cut your PVC piping to size.
Assemble it with elbows, T-joints, and couplings for an impeccable frame.
Stretch fabric or blackout cloth over the structure securely – smoothing out any wrinkles for perfect projections onto your screen of choice!
Once everything is set up properly, adjust projector settings directly tailored to fit just right on top of this customized display solution.
Method 3: Hanging the Sheet with Grommets (Best Budget)
Materials needed:
- A white bedsheet or curtain;
- Grommets and a grommet tool;
- String or rope.
Instructions:
Hang up your sheet in no time with these simple steps!
Clean the wall or surface of choice and use a grommet tool to puncture holes at each corner.
Then, string through rope or twine and tie knots around them for extra security while hanging.
Mount the sheet using hooks or nails making sure it’s straightened out so that there are no wrinkles obscuring any part of the image projected on it.
Method 4: Using a Tripod Stand (Alternative Choice)
Materials needed:
- A white bedsheet or curtain;
- Four poles or PVC pipes (2-3 inches in diameter);
- Two elbow joints and two T-joints;
- A tripod stand.
Instructions:
Create a sturdy viewing platform with the help of elbow and T-joints connected to the poles, before securing them onto your tripod stand.
Stretch out the sheet tautly over the frame for uninterrupted visuals – no ripples or warps allowed!
Make those final adjustments in position by setting up at your desired angle and height given that this will be as crucial to success as having a well fastened screen surface.
FAQ about How to Make a Projector Screen with a White Sheet
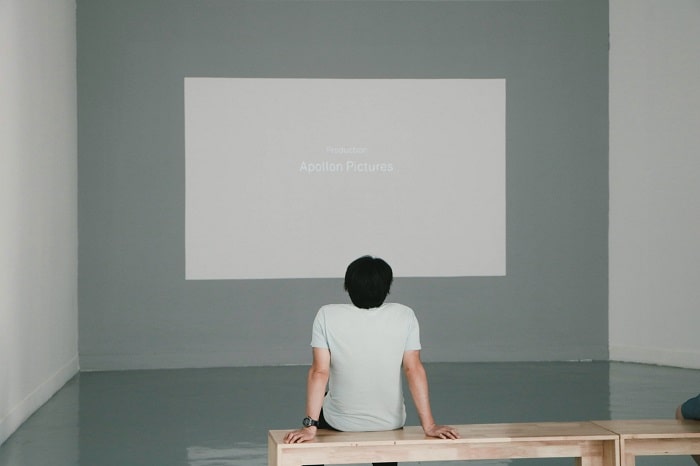
Looking to create your own projector screen at home? You’ve come to the right place! Learn more about creating a stunning projection wall with our helpful list of commonly asked questions.
Can you use any white sheet as a projector screen?
Investing in the correct sheet will ensure maximum quality and sharpness for your images. Choose carefully – opt for a high thread count fabric with an ultra-smooth texture to guarantee professional results.
What kind of projector works best with a white sheet screen?
A projector with advanced brightness and contrast capabilities can make for an optimal viewing experience when paired with a white sheet screen, delivering crystal clear images and vivid colors.
How do you clean a white sheet projector screen?
To keep your sheets fresh, simply remove them from the frame or surface and give them a gentle wash with cold water and mild detergent. Hang to air-dry for best results – avoid using a dryer!
Can you paint a white sheet for a better image quality?
Paint your own custom projector screen! Make the most of any space with a special, high-quality projection paint that can help you turn an ordinary white sheet into a superior viewing experience.
How to Make a Projector Screen with a White Sheet: Conclusion

With the right approach, creating a projector screen with just a white sheet can produce an impressive and comfortable viewing experience. When selecting your method, it is important to consider factors such as space availability, budget constraints, and image quality desired.
PVC frame & blackout cloth provides durability along with high-quality visuals.
Hanging sheets with grommets give you the benefit of affordability.
Whereas tripod stands offer flexibility and portability.
All in all – this DIY project requires some effort yet offers ample opportunity for creativity – allowing viewers to enjoy their favorite movies or presentations on bigger screens from home!

